Dreaming of becoming an IT expert and conquering prestigious MCSA certifications, but struggling to set up a learning environment? Don’t worry, “HOC LÀM” (Learn to Do) is here to help you overcome these challenges with this article!
Why Set Up a Virtual Machine for MCSA Learning?
You might have heard the saying, “Man proposes, God disposes.” Similarly, for effective MCSA learning, you need the right environment. Setting up a virtual machine provides you with a vast “field” to experiment, install, and experience Windows Server operating systems without affecting your computer’s main system.
“Top-notch” benefits of setting up a virtual machine:
- Flexibility: Easily install, delete, and move virtual machines without worrying about “cluttering” your system.
- Safety: Isolate harmful software and applications, protecting your data.
- Cost-saving: Instead of buying extra computers, you only need to use free virtual machine software.
Guide to Setting Up a Virtual Machine for MCSA Learning
“Though tattered, keep the hem,” setting up a virtual machine also requires following some basic steps. Let’s practice with “HOC LÀM”!
Step 1: Choose Virtual Machine Software
Currently, there are many popular virtual machine software options such as VirtualBox, VMware Workstation, Hyper-V, etc. Choose the software that suits your needs and operating system.
Quick tip:
- VirtualBox is free software compatible with many operating systems, suitable for beginners.
- VMware Workstation is professional software with many advanced features, suitable for those who are more “experienced” and want to explore further.
Step 2: Download and Install Virtual Machine Software
After choosing the software, download and install it according to the manufacturer’s instructions.
Note:
- Make sure your computer meets the minimum requirements of the virtual machine software.
- It is recommended to install the virtual machine software on a hard drive with a large amount of free space to avoid “disk full” situations when installing operating systems inside the virtual machine.
Step 3: Create a New Virtual Machine
- Launch the virtual machine software you installed.
- Select “New Virtual Machine” and fill in the necessary information such as:
- Virtual machine name
- Operating system type
- Virtual hard disk size
- RAM allocated to the virtual machine
- Click “Finish” to complete the virtual machine creation.
Example:
- Virtual machine name: WindowsServer2019
- Operating system type: Windows Server 2019
- Virtual hard disk size: 50 GB
- RAM allocated to the virtual machine: 2 GB
Step 4: Install Windows Server Operating System
- Click on “Mount ISO” in the virtual machine software.
- Select the ISO file of the Windows Server operating system you want to install.
- Follow the on-screen instructions to perform the Windows Server operating system installation steps.
Note:
- To install Windows Server, you need the ISO file of the operating system.
- You can search for the Windows Server ISO file on the internet.
Step 5: Configure and Use the Virtual Machine
- After installing the Windows Server operating system, you need to configure the network for the virtual machine to connect to the internet.
- Start using the virtual machine like a normal computer to study and practice MCSA knowledge.
Suggestion:
- “Team up” with IT experts in the MCSA field to learn practical experience.
Conclusion
“Necessity is the mother of invention,” learning MCSA is not easy, but with perseverance and the “secrets” shared, you will “defeat” all challenges! Remember, “humility is the road to success,” don’t hesitate to contact “HOC LÀM” if you encounter any difficulties.
Want to discover more useful knowledge about MCSA?
- Visit the “HOC LÀM” website to read more articles about MCSA.
- Join the “HOC LÀM” community to share experiences and learn from predecessors.
 Guide on setting up a Windows Server 2019 virtual machine
 Tutorial on installing a VirtualBox virtual machine
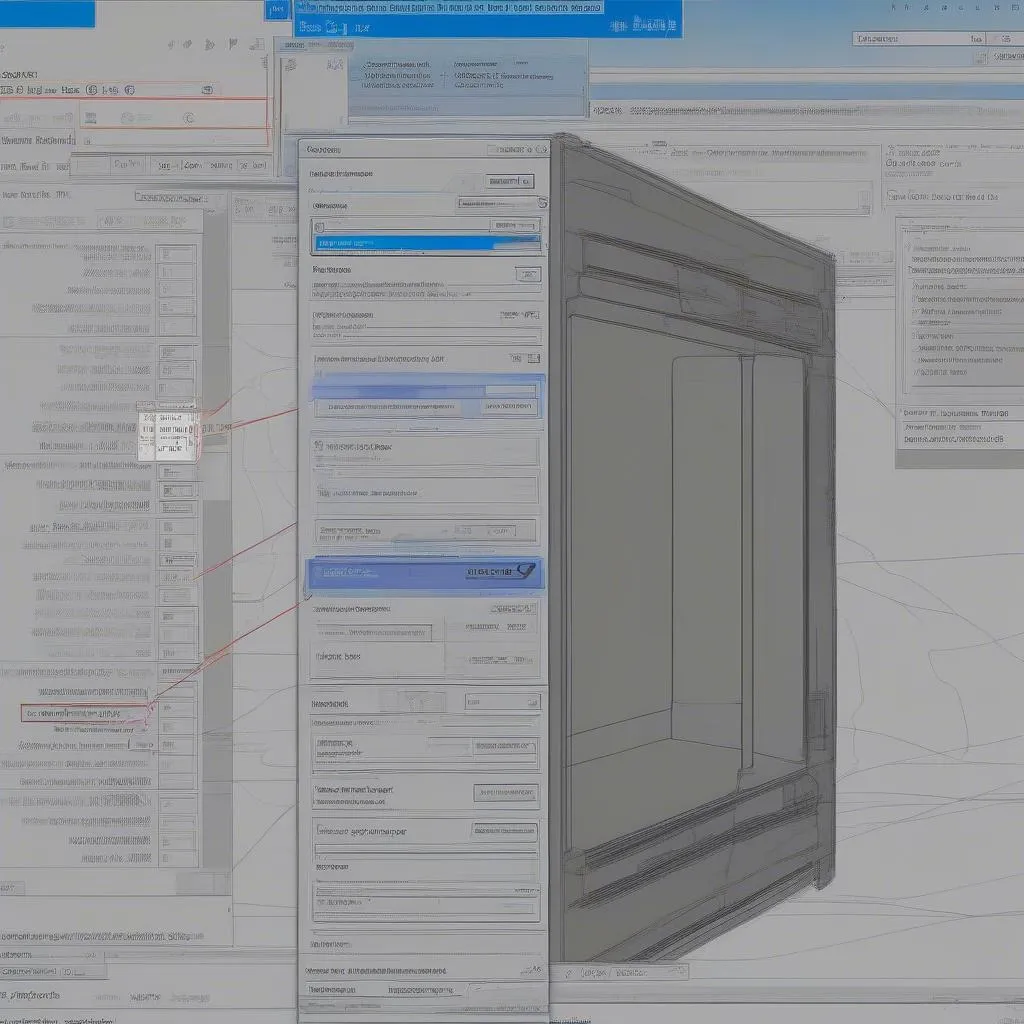
 VMware Workstation virtual machine software interface
Start your journey to conquer MCSA today!