“Dress and grooming make the man,” goes the old saying, and it still holds true. For students as well as adults, attire reflects neatness, orderliness, and personal style. Embroidering names on uniforms is a simple yet effective way to add a unique touch to school outfits and clearly distinguish individuals in the classroom. So, how can you hand-embroider names beautifully and professionally on school uniforms? Let’s explore with HOC LAM in this article!
Tips for Beautiful and Professional Hand-Embroidered Names on School Uniforms
Prepare Your Tools
Before starting to embroider, make sure you have all the necessary tools ready:
- Embroidery needles: Choose a needle size appropriate for the fabric type and thread thickness. Embroidery needles have small eyes and sharp points, making it easy to thread and create delicate stitches.
- Embroidery thread: Use thread colors that match the uniform and the name you want to embroider. Opt for colorfast threads that won’t easily fade after washing.
- Embroidery hoop: An embroidery hoop helps to hold the fabric taut and provides a stable frame for stitching.
- Pencil: Use a pencil to lightly sketch the name onto the fabric. Choose a light-colored pencil that is easy to erase after embroidering.
- Scissors: Sharp scissors are essential for neatly and precisely cutting the embroidery thread.
How to Hand Embroider Names on School Uniforms
Step 1: Sketch the Name
Use a pencil to sketch the name onto the fabric as desired. The lettering should be clear and even, avoiding excessively thick or thin lines. Note: Sketch lightly so it’s easy to erase after embroidering.
Step 2: Thread the Needle
Select a thread color that complements the uniform and the name you want to embroider. Thread the needle from bottom to top, ensuring the knot at the end of the thread is securely fastened.
Step 3: Begin Embroidering
- Simple embroidery technique: Use a straight stitch or slant stitch to create basic lettering. Bring the needle up from the underside of the fabric, then down from the top to create a straight or slanted line.
- Advanced embroidery techniques: Employ techniques like cross-stitch, outline stitch, or satin stitch to add sophistication and uniqueness to the lettering.
Step 4: Finish and Secure
Once you’ve finished embroidering, use scissors to trim any excess thread. Then, use the needle to thread the end of the thread to the back of the fabric to secure it. To prevent unraveling, you can use a knot or stitch it again for extra security.
Step 5: Erase Pencil Marks
Use a soft eraser or a damp cloth to remove the pencil sketch marks. Note: Erase gently to avoid damaging or fading the fabric.
Hand Embroidering School Uniform Names in Your Style
Vintage Style Embroidered Names
- Font selection: Choose rounded, soft lettering to evoke a classic, nostalgic feel.
- Color palette: Use neutral colors like white, black, brown, light yellow, navy blue, etc.
- Technique: Employ simple embroidery techniques to create a minimalist, rustic look that suits the vintage style.
Modern Style Embroidered Names
- Font selection: Opt for angular, modern, eye-catching lettering to create a dynamic feel.
- Color palette: Use bright, vibrant colors to create personality and trendiness.
- Technique: Utilize advanced embroidery techniques to add unique highlights to the lettering.
Personal Style Embroidered Names
- Font selection: Choose fonts that reflect your personal taste; select beautiful and unique fonts to express individuality.
- Color palette: Combine various colors according to your own ideas.
- Technique: Use embroidery techniques that align with the style you wish to create.
Important Notes When Embroidering Names on School Uniforms
- Choose thick and sturdy fabric to ensure beautiful, durable stitches that are less prone to fraying or tearing.
- Avoid embroidering too many details; keep the lettering simple to prevent the uniform from becoming bulky.
- Use an embroidery needle size appropriate for the fabric type and thread thickness to create neat and even stitches.
- Embroider gently, avoiding excessive force, to prevent tearing or damaging the fabric.
- Practice on a scrap piece of fabric before embroidering on the uniform to check if the stitches are neat and suitable for the garment.
Enhance Your School Uniform Name Embroidery Skills
- Refer to tutorials and instructional videos: Many embroidery tutorials and videos are available online. You can refer to them to learn more advanced embroidery techniques.
- Join embroidery classes: Participate in embroidery classes to learn from experienced individuals and improve your embroidery skills.
- Practice regularly: Practice frequently to enhance your skills and create more beautiful embroidery pieces.
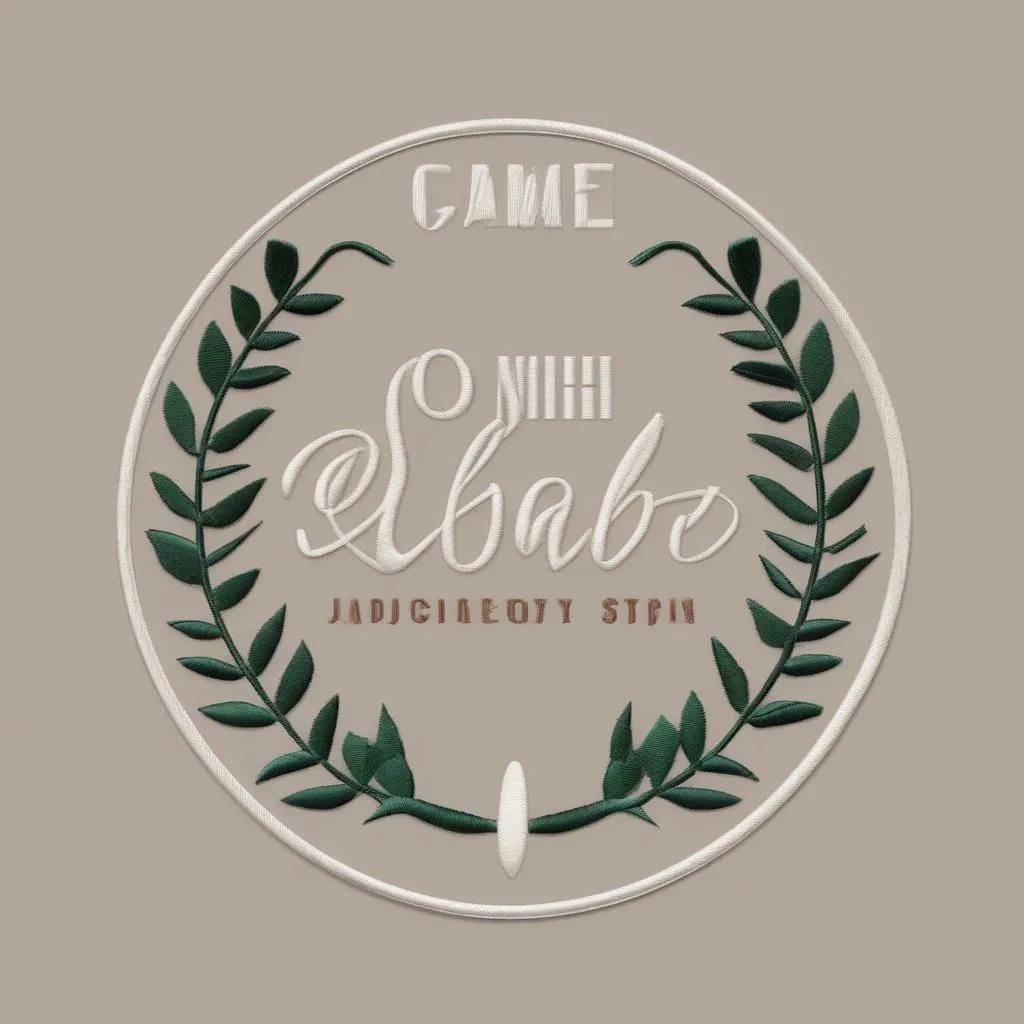
Beautiful School Uniform Name Embroidery Samples
 Example of hand-embroidered school uniform name in block letters
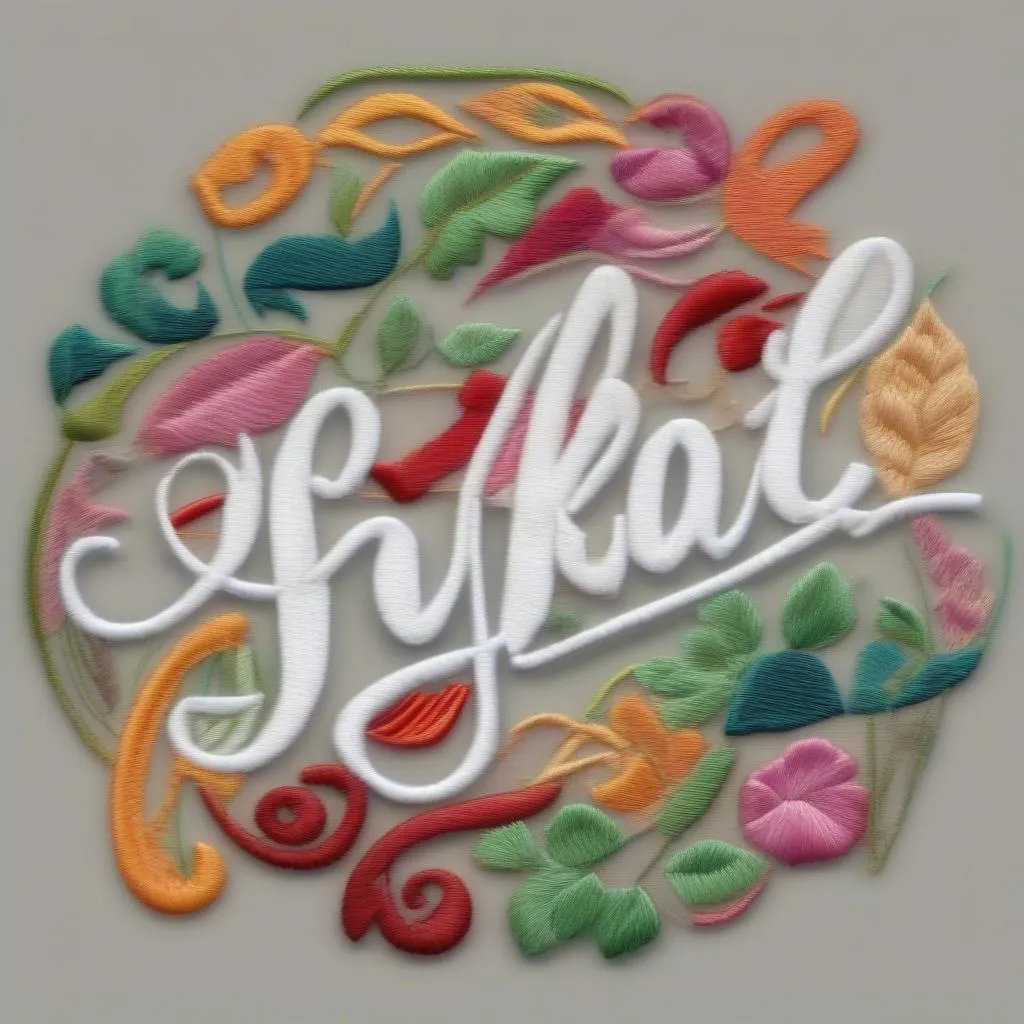 Example of hand-embroidered school uniform name in cursive handwriting
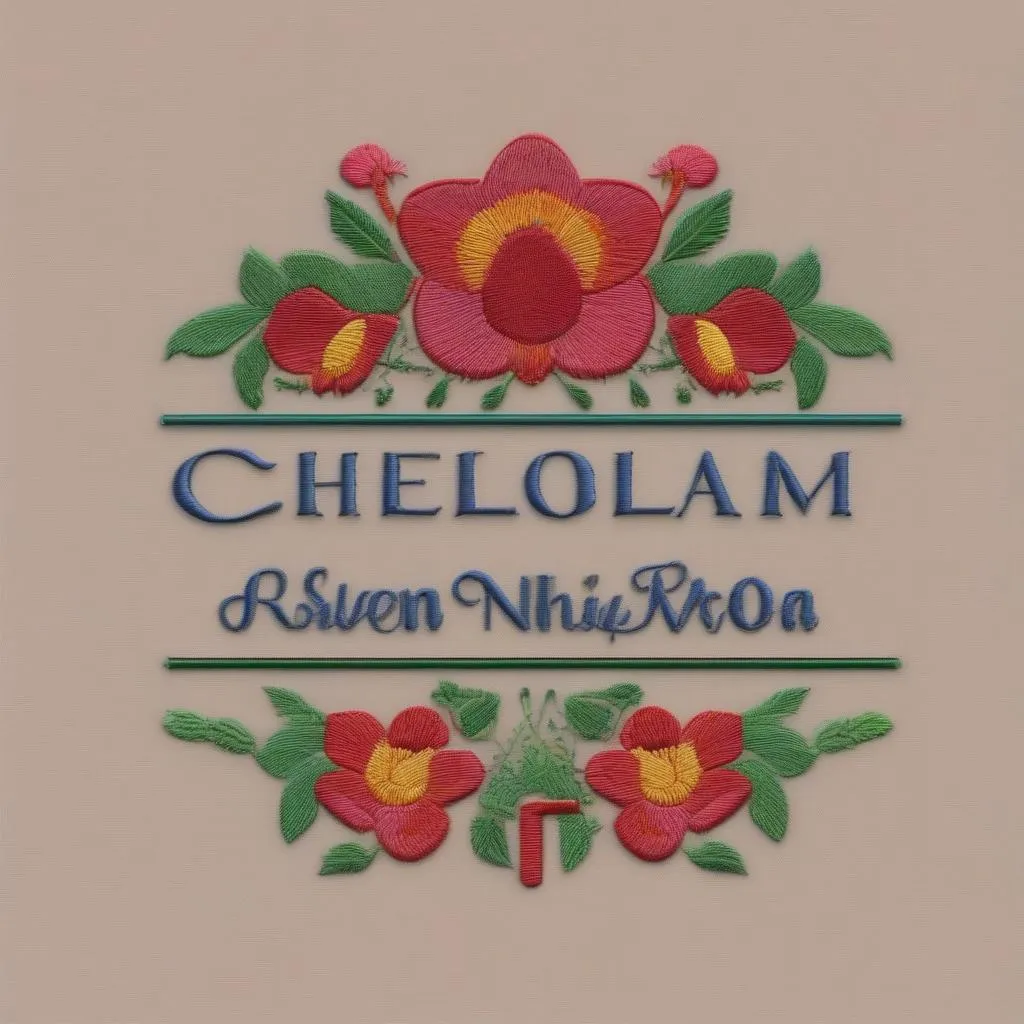 Example of hand-embroidered school uniform name with decorative motifs
Conclusion
Embroidering names on school uniforms is a simple yet effective way for students to express individuality and neatness. With the detailed instructions above, HOC LAM hopes you have mastered the skills to embroider beautiful and professional names on school uniforms. Try embroidering your name on your uniform and create a unique highlight for your style!
Want to learn more about other embroidery methods? Visit related articles:
Leave a comment or share this article if you found it helpful!
